
How to Draw A Sea Otter. There are many cute animals to see in the animal kingdom. These pups can be found on land, in the air, and even in the water.
Also, check our unicorn coloring page.
The sea otter is an example of a beautiful animal found on land and in the water.
These graceful creatures are a sight to behold as they speed through the water and have become hugely popular worldwide!
Because of this, many people enjoy learning how to draw a sea otter.
How to Draw A Sea Otter
Step 1
We’ll start with the head and face for this first step of our how-to draw a sea otter guide.
First, draw some curved lines to form the rounded outline of the otter’s head. A few small round ears break this outline at the top of the head, and a protruding mouth at the bottom.
You can then use rounded shapes for the eyes and eye details and add an outline for the mouth area.
Finally, draw the nose and add a smiling mouth underneath before continuing to step two of the guide!
Step 2
For the second step of this sea otter drawing, we’ll start by drawing the outlines of the body and arms.
Use a curved line for the sea otter’s chest and a slightly more curved line for the back.
Next, draw small arms pointing down near the center of the chest. These will also end up with little pointy toes, as shown in the reference image!
Once you’re happy with how these parts look, we can move on to part four of this guide.
Step 3
Continuing with this sea otter drawing guide, we will draw more of the body and legs.
The sea otter’s body is fairly long and slender, so keep this in mind when drawing lines for the sides of the body. The otter’s belly is also outlined in this step.
Finally, draw thick, rounded thighs for the legs. We’ll finish these legs in the next step, so get on with that part when you’re ready!
Step 4
Before we get into the final details of this sea otter design, we will finish the legs and tail first.
You drew the thighs for this sea otter’s legs in the previous step, and we’ll add feet over them in this step.
The feet are small with tiny rounded toes, so adding them should be easy! Once the legs are done, you can add the otter’s tail.
This tail is relatively long and progressively thinner until it ends in a pointed tip. When it’s drawn, you’re ready for the final touches!
Step 5
It’s almost time for the final step of this sea otter drawing guide, but first, we need to add the finishing touches!

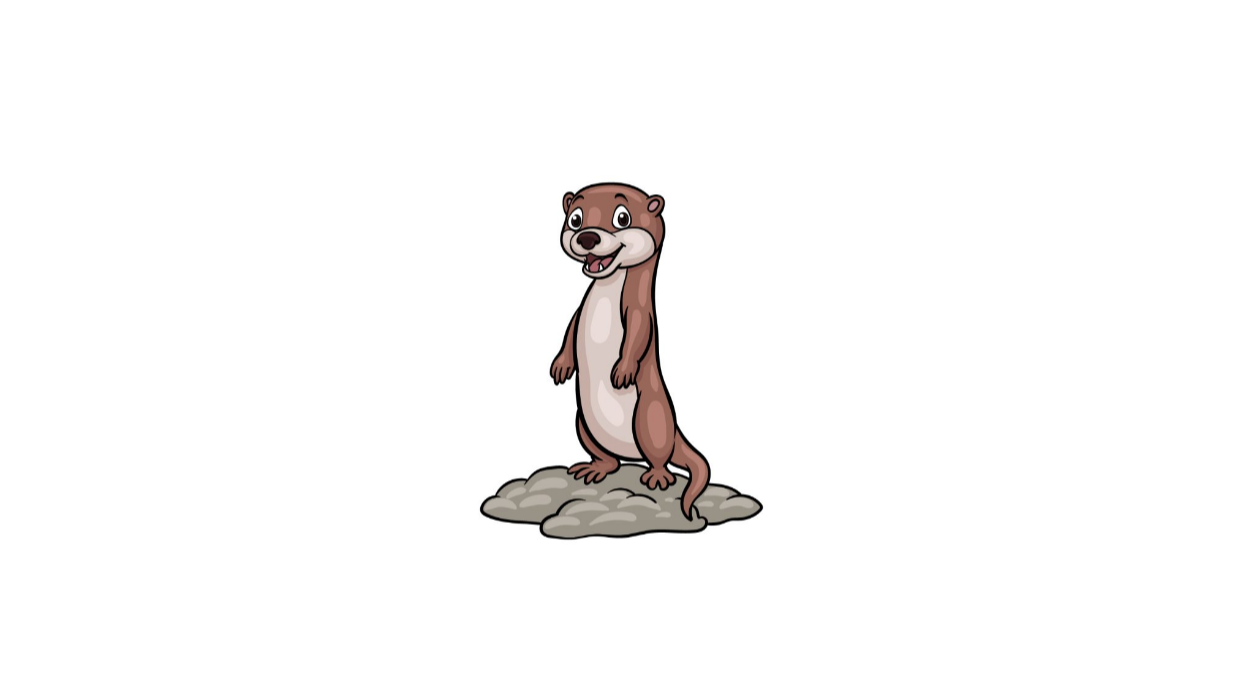
In our reference image, you can see that we used some jagged lines to draw a small mound of dirt around the sea otter’s base for it to stand on.
After drawing this element, feel free to draw other additions of your own!
For example, drawing a background could show what kind of environment this cute sea otter is in.
You can also draw other sea otters to match or even add other animals like fish.
Step 6
While we worked on a slightly caricatured and stylized version of this animal for this sea otter design, we decided to keep the colors a little more subtle and realistic.

We used shades of brown for the sea otter’s fur and some beige colors for the belly area.
You can choose these colors when coloring your image, but there are many others you could use!
You could use colors like black or yellow to keep the colors realistic, or you could take a gorgeous styling approach by using lighter colors.
Your Sea Otter Drawing is Finished!

